
A dirty reel doesn't usually fail all at once. It gets a little noisier, feels a little rougher, and starts losing performance cast by cast until one day it's obvious something's wrong. Salt, sand, old grease, and moisture all work their way into moving parts, and if we ignore them, even a great reel can start feeling cheap. The good news is that learning how to clean fishing reel components properly is straightforward, and it pays off fast.
In this guide, we'll walk through the essentials of reel care, from basic tools to a practical step-by-step cleaning process and smart lubrication. We'll also cover how often we should clean reels in freshwater, saltwater, and harsh shoreline conditions. Whether we're building a simple reel maintenance guide for the garage or figuring out how to maintain spinning reel performance through the season, this process keeps gear smoother, stronger, and ready to fish.
Why Regular Reel Maintenance Matters
Regular maintenance matters because reels work in one of the worst environments possible for precision mechanical parts. They deal with water, grit, fish slime, UV exposure, and constant vibration. Even if a reel still turns, internal wear can build quietly until the drag gets inconsistent, the handle feels geary, or corrosion starts attacking bearings and screws.
When we clean a reel on a routine basis, we do more than make it look better. We remove contaminants before they harden into abrasive paste. Sand mixed with old grease is basically a grinding compound, and salt residue attracts moisture long after a trip is over. That combination shortens the life of gears, bearings, line rollers, and drag components.
A consistent cleaning routine also helps us catch small issues early. During a basic inspection, we might notice:
-
A loose handle knob
-
Line twist building at the roller
-
Rust starting on fasteners
-
Cracked seals or worn bushings
-
Grease leaking where it shouldn't
That early notice is valuable. Replacing a small part or relubricating a dry component is far easier than rebuilding a reel after corrosion has spread.
There's also a performance benefit. A well-maintained reel casts more smoothly, retrieves with less resistance, and puts less strain on our wrist during long days on the water. The drag tends to start up more consistently, which matters when a fish surges boatside or under the kayak.
For anglers who fish often, maintenance is really a cost-control habit. Better care means fewer repairs, longer service life, and less chance of a failure during peak season. In short, if we want our gear to stay dependable, learning how to clean fishing reel parts properly isn't optional. It's one of the simplest ways to protect our investment and fish with confidence.
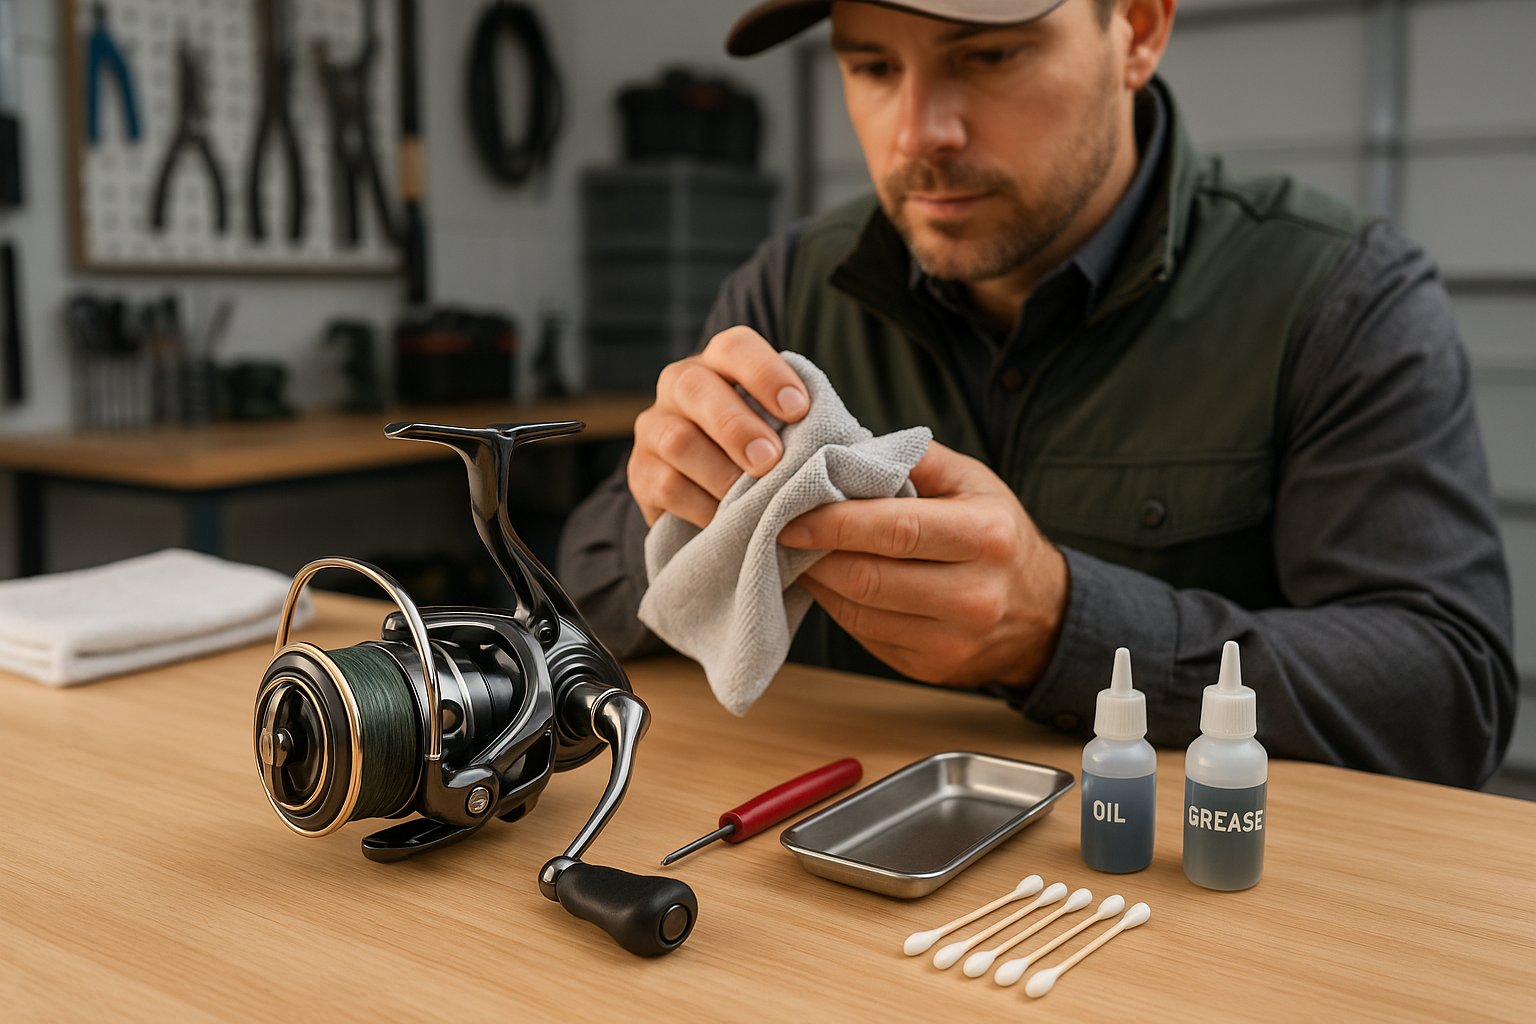
Tools You Need for Cleaning
Using the right tools makes reel cleaning safer and much more efficient. We don't need a full repair bench to handle routine care, but we do need a few basics that help us clean thoroughly without damaging small parts.
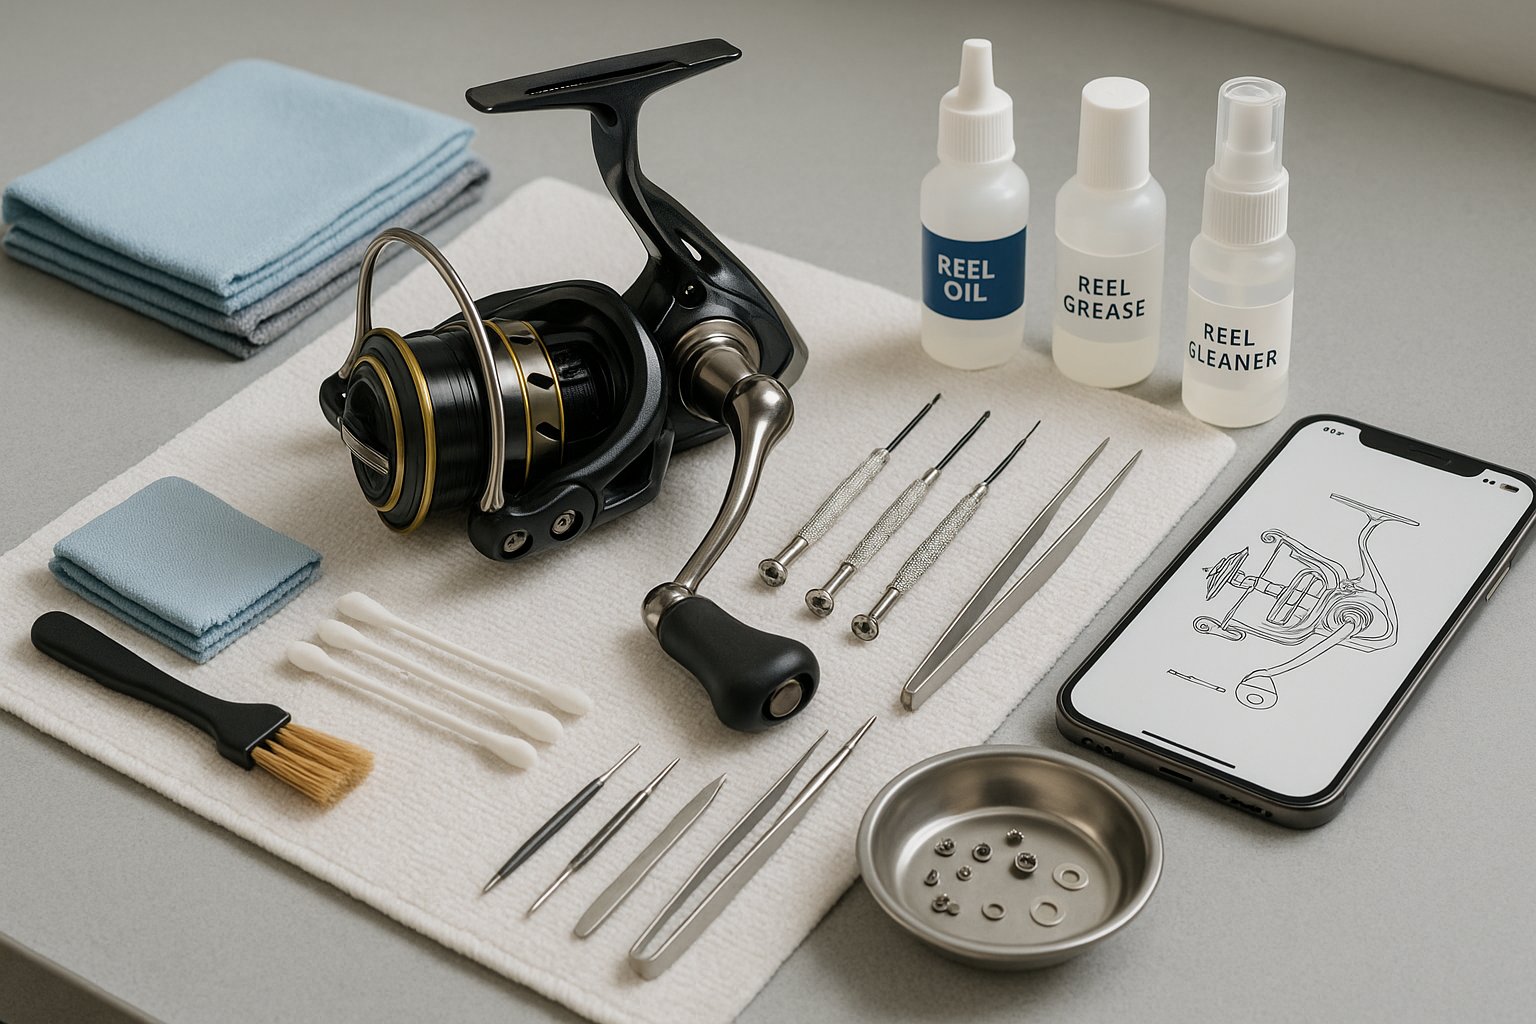
Here's a practical starter kit:
-
Microfiber cloths for wiping down frames and spools
-
Soft-bristle brush or old toothbrush for loosening grime
-
Cotton swabs for tight spaces around the rotor, handle, and line roller
-
Small screwdrivers that fit reel screws properly
-
Tweezers or hemostats for tiny clips and washers
-
Reel cleaner or mild degreaser safe for metal and plastics
-
Reel oil for bearings, knobs, and other light-friction points
-
Reel grease for gears and heavier-load contact surfaces
-
Parts tray or magnetic dish so screws don't disappear
-
Compressed air bulb or canned air used carefully for dust and moisture
If we're building a more complete reel maintenance guide setup, a reel schematic is one of the smartest additions. Most manufacturers provide exploded diagrams online, and those diagrams can save a lot of frustration during reassembly.
A few tool choices matter more than they seem
Not all cleaners are reel-safe. Harsh solvents can damage paint, remove protective coatings, or swell plastic and rubber components. We should stick with products made specifically for reels or use a mild degreaser sparingly.
The same goes for screwdrivers. Poorly fitting drivers strip screw heads fast, especially on smaller reels. Once that happens, a simple cleaning job can turn into a repair problem.
Optional but useful extras
If we service reels often, these upgrades help:
-
Nitrile gloves to keep solvents and grease off our hands
-
A bench mat or white towel to make small parts easy to see
-
A smartphone camera to photograph each step before disassembly
-
Toothpicks for applying grease precisely
-
Bearing cleaning container for deeper maintenance sessions
The goal is simple: use tools that help us be organized, gentle, and precise. That's especially important when we're learning how to maintain spinning reel components, since spinning reels often include small springs, shims, and line roller parts that are easy to lose.
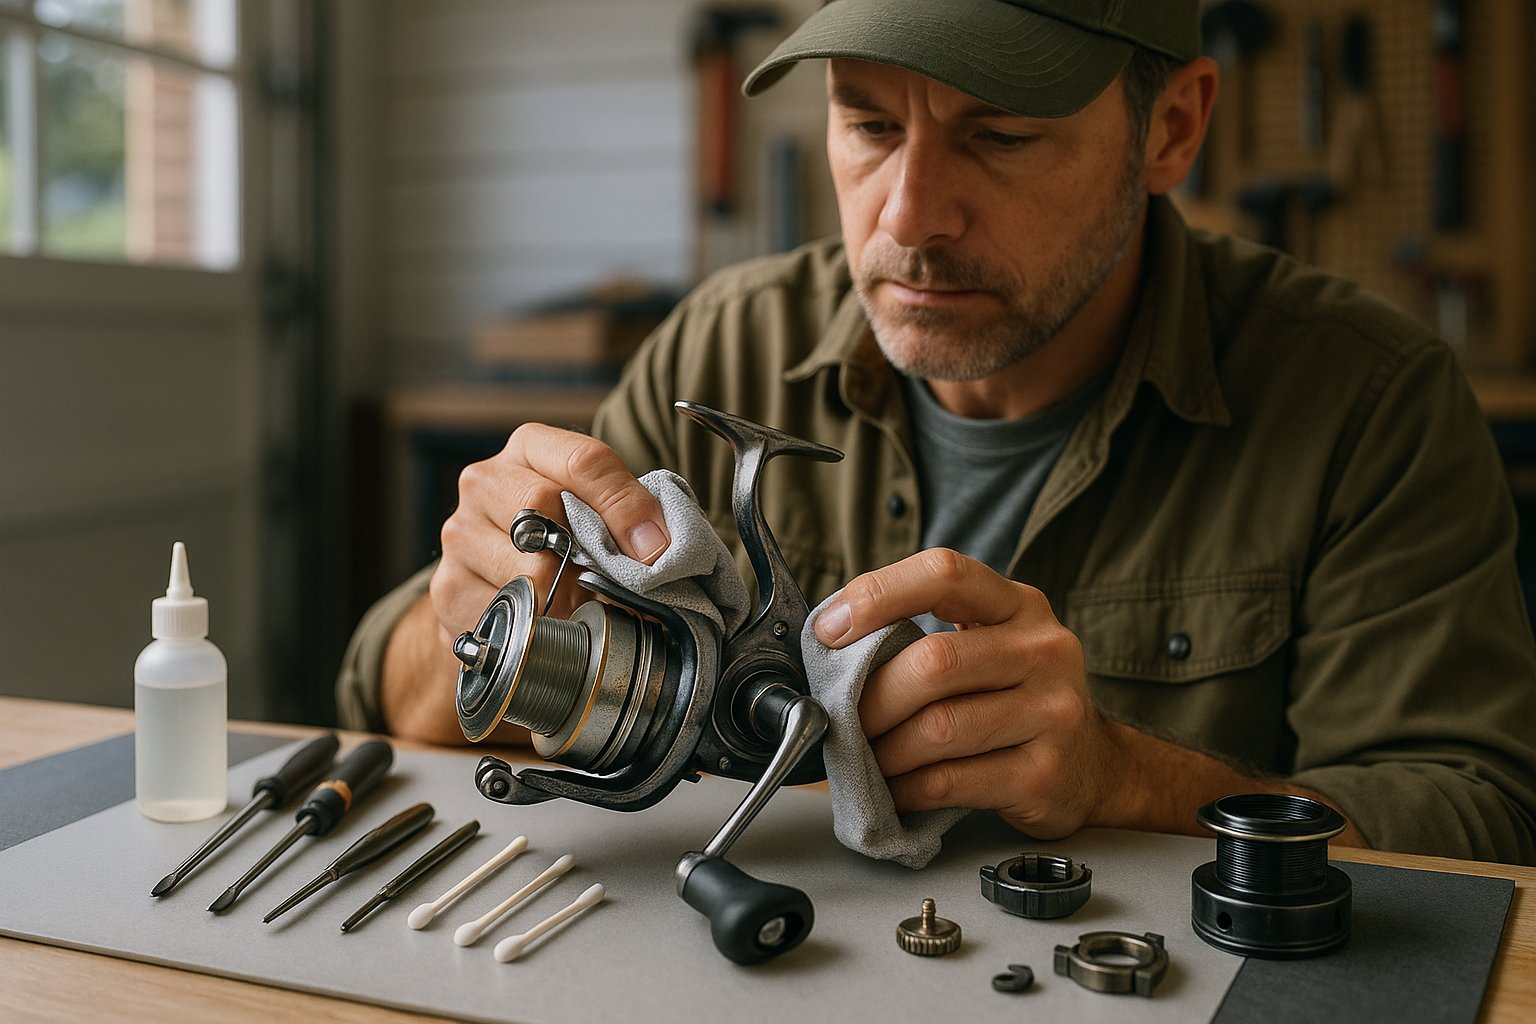
Step-by-Step Cleaning Process
A good cleaning process matters because reels don't respond well to rushed work. The safest approach is to clean in stages, stay organized, and avoid taking apart more than we can confidently reassemble. For routine maintenance, we usually don't need a full teardown.
1. Start with an external rinse and wipe-down
If the reel has been used in saltwater or dirty conditions, we begin with a light freshwater rinse or a damp cloth. We never blast a reel with high-pressure water. Pressure can push salt and grit deeper into the body instead of removing it.
After that, we wipe the reel dry with a microfiber cloth and inspect obvious problem spots like the bail arm, spool lip, line roller, drag knob, and handle joints.
2. Remove the spool and handle
Next, we remove easy-access parts first. On most spinning reels, that means the spool and handle. This gives us access to areas where salt, old grease, and debris collect.
As we disassemble, we lay parts out in order. Left to right works well. Taking a photo before removing washers or drag components is a smart move.
3. Clean exterior surfaces and crevices
Using a soft brush, cotton swabs, and reel-safe cleaner, we scrub away dirt around:
-
Rotor arms
n- Bail wire hinges
-
Line roller assembly
-
Handle base and knob
-
Spool shaft
-
Reel foot and stem junctions
This is usually where the visible grime lives. We don't need to flood the reel with solvent. Small amounts applied carefully work better and reduce the chance of washing contaminants into internal areas.
4. Address the spool and drag area
We wipe the spool inside and out, paying attention to the lip and arbor. If the drag stack is easy to access and we know the reel design, we inspect drag washers for dirt, moisture, or glazing.
A key caution here: felt, carbon, and composite drag washers are not all treated the same. If we aren't sure what the reel uses, we should check the manufacturer's guidance before applying cleaner or grease.
5. Clean the line roller thoroughly
This small part gets overlooked all the time, but it handles constant friction under retrieve. A dirty or dry line roller can create line twist, noise, and uneven wear. We remove it carefully if we're comfortable doing so, clean away salt and debris, and inspect the bearing or bushing.
6. Open the side plate only if needed
For routine cleaning, we usually stop before a full gear-box teardown. But if the reel feels rough, sounds dry, or has contamination inside, we can remove the side plate and inspect the main gear and oscillation components.
At this stage, organization matters even more. We work slowly, keep screws grouped by location, and avoid mixing washers or shims.
7. Dry and inspect before lubrication
Before adding oil or grease, every cleaned part should be dry and free of old residue. This is where we check for wear patterns, corrosion, chipped teeth, bent springs, or cracked seals.
One of the biggest mistakes when we clean fishing reel assemblies is adding fresh lubricant over dirty old grease. That just traps debris and creates a thicker mess.
Common mistakes to avoid
-
Using too much water
-
Spraying harsh solvent everywhere
-
Over-disassembling without a schematic
-
Mixing up drag washer order
-
Reassembling while parts are still wet
-
Forcing screws back into the wrong holes
If we stay methodical, even a basic cleaning dramatically improves reliability. And for most anglers, that routine care handles the majority of reel performance issues before they become expensive problems.
Lubrication Tips for Smooth Performance
Cleaning removes contamination, but lubrication is what restores smoothness and protects moving parts from wear. The trick is using the right lubricant in the right place and resisting the urge to overdo it. More oil and grease do not mean better performance. Usually, they just attract more dirt.
Use oil and grease for different jobs
As a rule, reel oil is best for light, fast-moving parts, while reel grease is for heavier load-bearing contact points.
Use oil on:
-
Bearings, where appropriate
-
Handle knobs
-
Line roller bearings or bushings
-
Bail arm pivot points
-
Small rotating shafts
Use grease on:
-
Main gear teeth
-
Oscillation gear tracks
-
Sliding contact surfaces
-
Some screw threads, if recommended by the manufacturer
When learning how to maintain spinning reel performance, this distinction is one of the biggest upgrades we can make. An over-greased bearing can feel sluggish. An under-greased main gear can wear prematurely and turn rough.
Apply less than we think
A thin, even film is usually enough. For grease, we can use a small brush or toothpick to coat gear teeth lightly rather than packing the entire cavity. For oil, one drop is often enough per point. If oil is dripping or grease is squeezing out everywhere, we've used too much.
Protect the drag system
The drag deserves extra care because wrong lubrication can ruin its consistency. Some drag systems use greased carbon washers: others are meant to stay dry. We should always follow the manufacturer's recommendation here. If we guess wrong, startup inertia and drag smoothness can suffer.
Focus on high-friction trouble spots
If we want the biggest performance return, we pay special attention to:
-
The line roller
-
Bail pivot points
-
Main gear contact surfaces
-
Handle knob bearings or bushings
-
Spool shaft where specified
These are the parts that often show the earliest signs of neglect.
Final check after lubrication
Once reassembled, we turn the handle slowly, flip the bail several times, and test the drag. The reel should feel smooth, not sticky, sluggish, or uneven. If it feels worse after lubrication, that usually points to too much product, contamination still present, or a part installed incorrectly.
Good lubrication is controlled, targeted, and light-handed. Done right, it makes a reel feel refined again and extends the benefit of every cleaning session.
Maintenance Schedule for Different Environments
A reel used twice a month on a clean freshwater lake doesn't need the same care as one fished weekly in surf, marsh, or tidal flats. Matching the maintenance schedule to the environment is what keeps effort reasonable and effective.
Freshwater use
For most freshwater anglers, a basic wipe-down after every trip and a light cleaning every few outings is enough. A more detailed cleaning and lubrication every few months usually keeps a reel in strong shape.
Suggested schedule:
-
After each trip: wipe down, inspect line roller, dry fully
-
Every 3–5 trips: light cleaning of spool, handle, and exterior crevices
-
Every 3–6 months: deeper cleaning and lubrication
-
Annually: full service or professional inspection for heavily used reels
Saltwater use
Saltwater demands a much stricter routine. Even corrosion-resistant reels need regular care, because "saltwater rated" does not mean maintenance-free. Salt crystals, humid air, and spray exposure can start causing issues quickly.
Suggested schedule:
-
After each trip: gentle freshwater rinse, wipe dry, inspect for salt residue
-
Every 1–3 trips: clean spool, rotor area, line roller, and handle joints
-
Monthly during heavy use: inspect internals and relubricate key points
-
At least twice a year: detailed service
If we fish from the surf, jetty, or kayak where reels get splashed often, we should move to the aggressive end of that schedule.
Sand, surf, and dirty bank conditions
Fine grit changes everything. Sand gets into bail assemblies, line rollers, and gear interfaces fast. If a reel is dropped in sand, we should stop using it until it's cleaned. Continuing to crank the handle can grind contaminants deeper into the reel.
Best practice:
-
Clean immediately after exposure
-
Inspect line roller and spool shaft first
-
Open the reel sooner rather than later if roughness appears
Off-season storage matters too
Before storing reels for weeks or months, we should clean them, dry them completely, and back off the drag slightly. Store reels in a cool, dry place, ideally in a breathable reel cover rather than a sealed damp container.
Quick environment-based checklist
|
Environment |
After Each Trip |
Light Cleaning |
Deep Service |
|---|---|---|---|
|
Freshwater |
Wipe and dry |
Every 3–5 trips |
Every 3–6 months |
|
Saltwater |
Rinse, wipe, inspect |
Every 1–3 trips |
Every 6 months or sooner |
|
Surf/Sandy areas |
Immediate inspection |
After every trip |
As soon as roughness appears |
The best schedule is the one we'll actually follow. Consistency beats perfection. If we build a repeatable habit around use conditions, our reels stay smoother, last longer, and perform the way they should when it counts.
Frequently Asked Questions About Cleaning Fishing Reels
Why is cleaning a fishing reel regularly important?
Regular cleaning removes salt, sand, and old grease that cause wear and corrosion, ensuring smooth performance and extending the reel's lifespan.
What basic tools do I need to clean my fishing reel properly?
You'll need microfiber cloths, a soft-bristle brush, cotton swabs, proper screwdrivers, tweezers, reel cleaner, reel oil and grease, a parts tray, and optionally compressed air.
How often should I clean my fishing reel if I fish in freshwater?
Wipe down and dry after each trip, perform light cleaning every 3–5 trips, and do a deep cleaning and lubrication every 3–6 months.
What is the best way to lubricate a fishing reel after cleaning?
Use reel oil on light-friction parts like bearings and line rollers, reel grease on gears and heavy-load points, and apply thin, even layers to prevent attracting dirt.
Can I rinse my fishing reel with high-pressure water after saltwater fishing?
No, high-pressure water can push salt and grit deeper into the reel. Instead, use a gentle freshwater rinse or wipe with a damp cloth.
How should I store my fishing reel during the off-season to keep it in good condition?
Clean and dry the reel completely, back off the drag slightly, and store it in a cool, dry place preferably inside a breathable reel cover to avoid moisture buildup.


